GeoMaestro
Tutorial 7: Handling pistes
A piste is an ordered collection of points. Since points are frequently used to define a projector geometry, pistes are the most powerful way to obtain whole sets of projections and create complex melodies or rythms.
Managing pistes is not a trivial task; it will often involve some programming: see here for more. This tutorial is dedicated to the handling of pistes through the main GUI.
Creating a piste from scratch:
There is no automatic way to define a piste from the GUI. What you can do is select a number of point, then use the "points -> piste" transfert mode to copy them into a piste; their order in the piste will be the one of their displaying or creation in the GUI.
For a complex or large piste, it is much more convenient to define it by with commands at the console, then [display] it in the GUI and then make changes there if necessary.
In the following, we will use the examples pistes:
Cir = ParaPiste(0,2*Pi,0.05*Pi,Cercle,2)
Ros = ParaPiste(0,Pi,0.01*Pi,Rose,2,3)
Displaying and editing a piste:
click on [display] and ask for
Cir, Ros
... zooming out, you should see this:
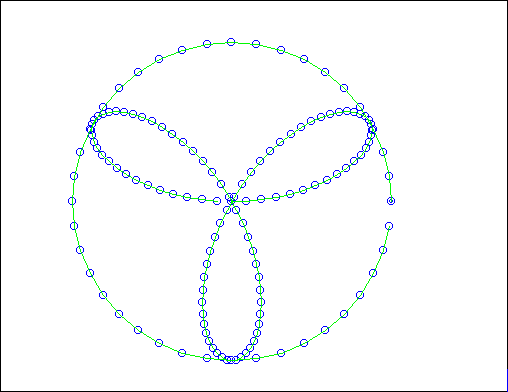
All points in a piste are linked by a green line; the first point is represented by double circle, so that you know how the points are ordered. Zoom into the centre of the Ros piste to look for its first and last points.
To select a piste, you simply need to select one of its point: the whole piste will be displayed in red, and the "move selection", "rotate selection", "copy(m)/copy(r) selection" mouse modes will apply to the whole piste.
Now if you want to access points within a piste, you need to display it as an array of points, with the "*" syntax: click [display] and type
-Cir, *Cir
... and you will have the points constituting Cir (no more green lines):
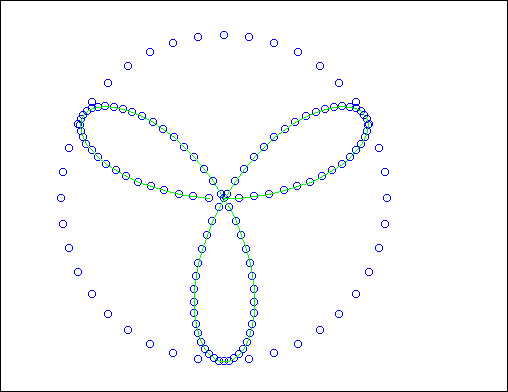
This time, selecting and moving points from the piste will allow you to modify its shape. We can thus do something like that (with a selection and a "move selection"):
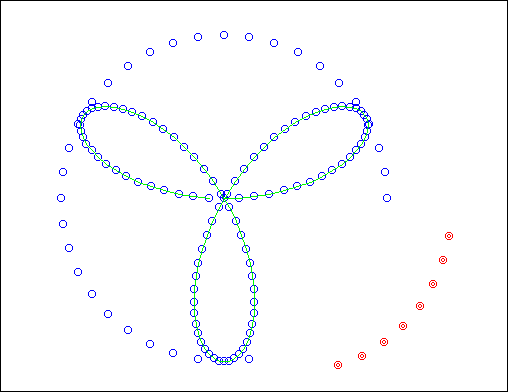
Now [display]
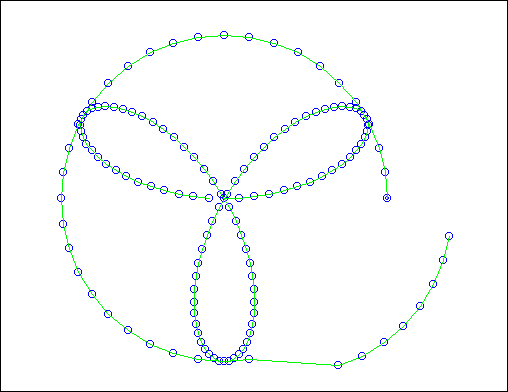
-$p, Cir
... and we see Cir as a piste again:
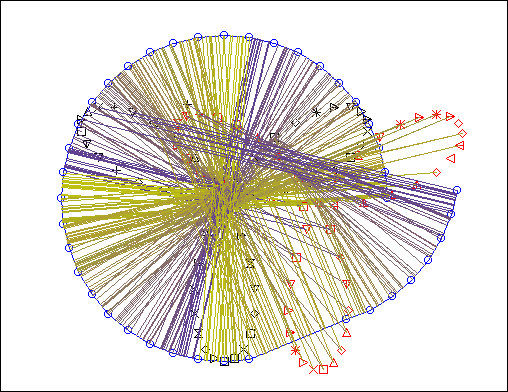
A bit more complicated, now: let's suppose we want to check how an event is projected along a piste. Use the "Snarf to event" mouse mode to create a dummy event somewhere inside the circle; we are going to display the piste as a set of dynamic segments in order to see the projections:
[display]
-Cir, *Cir, Cir-
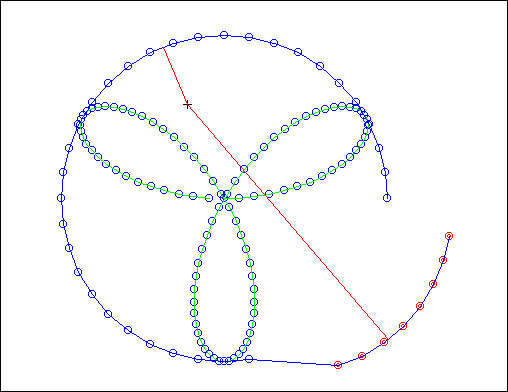
now if you move the selection, you'll see the projections follow; for example:
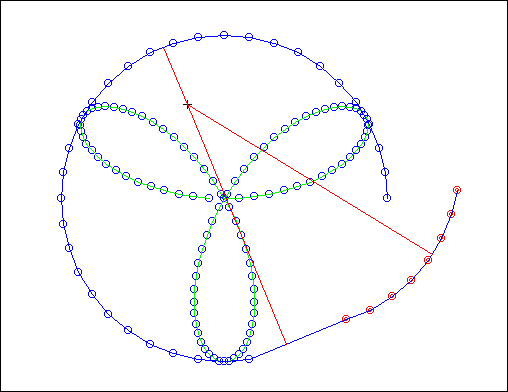
Creating events from a piste:
A piste can not only be used to organize points, but also events: we are going to use the Ros piste to define a set of events, so that they can later be projected onto the Cir piste.
First of all, select the Ros piste. Then set the transfert mode to "piste -> events" and click on the [-->] button.
A pop-up window appears and asks you for a command (or a set of commands separated with ";") defining what kind of events are to be created. If you simply return a dummy command with no effect (for example: "1"), the events will all belong to the current channel, with an empty nodur. Otherwise, C_ can be used to set the channel, N_ the nodur and S_ the selection state; to set these variables, you can use any valid KeyKit command. This command will be evaluated for each point in the piste; the variables I_, X_ and Y_ will be automatically set to that point index and coordinates, so that you can use them as parameters in the command.
As an example, type this:
C_ = rand(16)+1 ; N_= makenote(60+I_%20, 100*(X_+Y_)); S_= (I_%2 == 0)
... the first command gives a random channel to any created event; the second one makes its nodur pitch depends on the point index, while its duration is a function of its position; the last one selects every other point.
Now [display]
-Ros
... because we don't need the Ros piste any more;
also click [proj] as many times as necessary to get rid of the projections.
We can now see a whole bunch of new events:
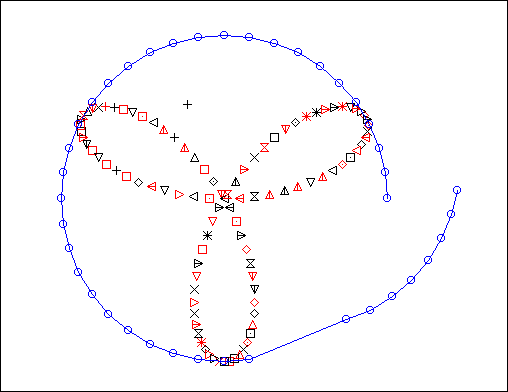
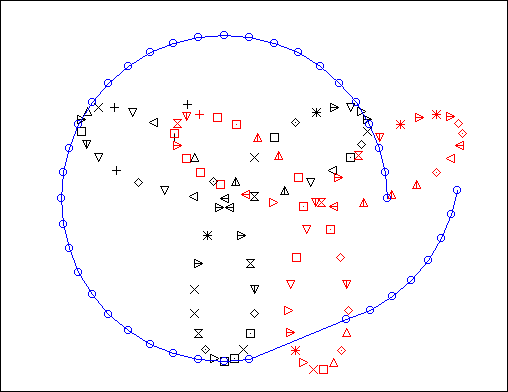
... some of them being already selected, so a single mouse motion in "move selection" mode makes two rose curves out of one:
We are now ready to use one of the many projectors taking a piste as argument to project our events... but this if off-topic here... so I leave it to your own experiments !
-- Back to the tutorials index--
-- Back --


